Infrastructure
Self-hosted infrastructure for the BitDive Autonomous Verification Layer. A secure Docker Compose setup featuring Vault, Keycloak, PostgreSQL, MinIO, and the Monitoring API.
Docker-based infrastructure for deploying the full BitDive observability stack, including identity management, object storage, and the monitoring API. The project is written primarily in Shell, first published in 2025. Key topics include: bitdive, devops, distributed-tracing, docker-compose, infrastructure.
BitDive Infrastructure
Docker-based infrastructure for deploying the full BitDive observability stack, including identity management, object storage, and the monitoring API.
This repository contains a production-ready Docker Compose setup for the BitDive environment, handling secrets, persistence, and secure networking out of the box.
Demo
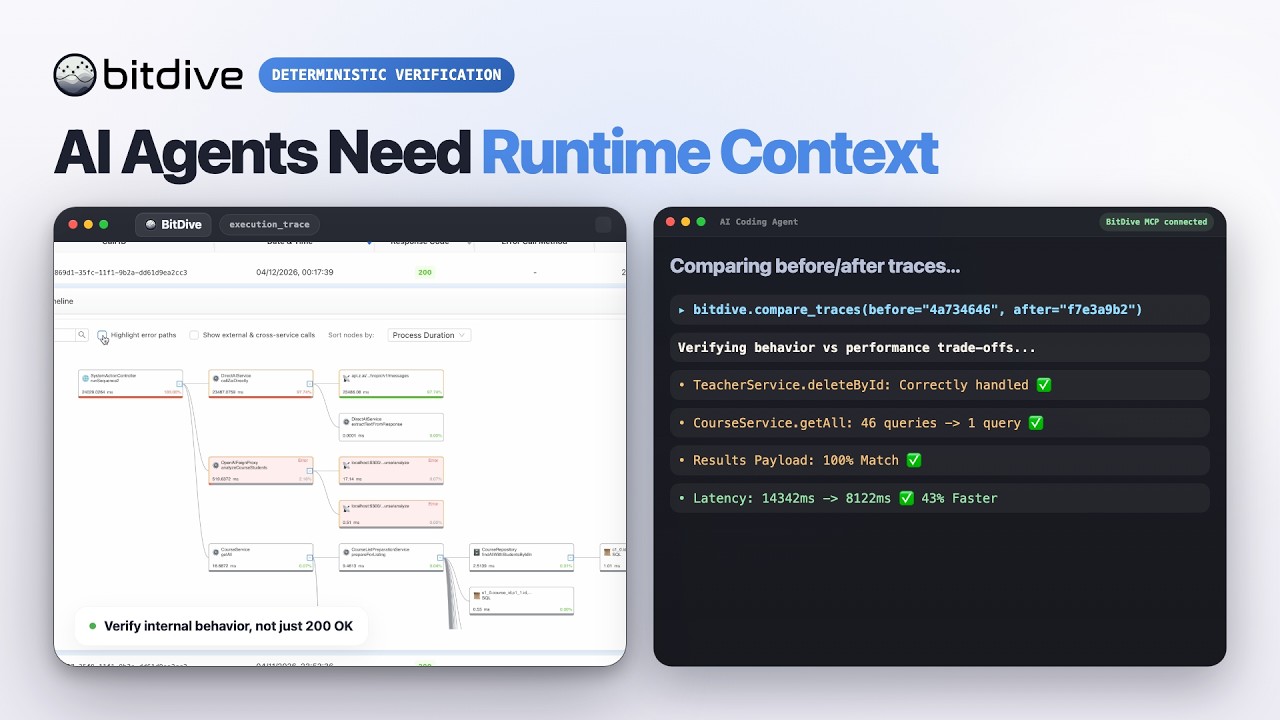
Watch the BitDive product demo on YouTube:
Overview
This setup includes the following services:
- Vault: A secrets management system.
- PostgreSQL: A database server with SSL configuration.
- MinIO: An object storage service.
- Keycloak: An identity and access management system.
- Monitoring API: A service for monitoring application performance.
- Flink Load: A service for loading data to MinIO.
- File Acceptor: A service for accepting and processing files.
- Frontend: A React-based frontend for the BitDive application.
URL
Clone the infrastructure repository if you haven't already
bashgit clone https://github.com/bitDive/infrastructure.git cd infrastructure/docker-compose
Prerequisites
Ensure that you have the following installed on your system:
- Docker (v20.10+)
- Docker Compose (v1.29+)
Environment Variables
Before starting the services, create a .env file in the root directory with the following variables:
envSERVER_IP=127.0.0.1 SERVER_NAME=localhost URL_FRONT_SYSTEM=https://${SERVER_NAME} #http://${SERVER_NAME}:3000 # Vault Configuration VAULT_ADDR=https://127.0.0.1:8200 VAULT_ADDR_CONTAINER=https://vault-server:8200 # PostgreSQL Configuration POSTGRES_USER=citizix_user POSTGRES_PASSWORD=pg_8HcQ9pQhC2R3nV7sA5wX1zL6mT0bD4o POSTGRES_DB=data-bitdive POSTGRES_HOST=postgres-bitdive POSTGRES_PORT=5432 CLICKHOUSE_USER=user_ch CLICKHOUSE_PASSWORD=ch_d3Tn8Qv4Lk2R6sP9a1M5yH7uJ0cX3Z CLICKHOUSE_HOST=clickhouse-bitdive CLICKHOUSE_DB=bitdive CLICKHOUSE_PORT=8445 CLICKHOUSE_PG_USER_PASSWORD=pgch_C9r2V7pQ6mN1tL8sD5fJ0kA4wH3y # MinIO Configuration MINIO_ROOT_USER=minio_admin MINIO_ROOT_PASSWORD=mn_W3r8Jq2L0p9S6t4V1y8N3b5C7k2M1 MINIO_DOMAIN=http://${SERVER_NAME}/minio MINIO_CONSOLE_ADDRESS=:9001 MINIO_ENDPOINT=http://minio:9000 # Keycloak Configuration KEYCLOAK_DB_USERNAME=${POSTGRES_USER} KEYCLOAK_DB_PASSWORD=${POSTGRES_PASSWORD} KEYCLOAK_ADMIN=your_keycloak_user KEYCLOAK_ADMIN_PASSWORD=KcAdm_Ab8bR7mX2tN5pQ1vZ6y KEYCLOAK_HTTP_ENABLED=false KEYCLOAK_HTTP_SSL_PORT=8443 KEYCLOAK_KEY_STORE_PASSWORD=KcKs_9hN3rT6wQ2yL8pV1zE5 KEYCLOAK_TRUST_STORE_PASSWORD=KcTs_8gM2qR5vW1yL7pT0xD4 JAVA_KEYSTORE_PASSWORD=Jks_7fN2qW5xT1vL8pR4zC9 JAVA_TRUSTSTORE_PASSWORD=Tst_6dM1pQ4wE9vT3yL7kR2 KEYCLOAK_DB_URL=jdbc:postgresql://${POSTGRES_HOST}:${POSTGRES_PORT}/keycloak?sslmode=verify-full&sslrootcert=/opt/keycloak/postgres/ca.crt TOKEN_SECRET="t9rVq7fX3G2rY0dN7kQjLx9y6bP1mC4v8aH5Z2R7U1E" # Vault User Credentials VAULT_LOGIN=username VAULT_PASSWORD=Vault_u7N2qW5xT1vL8pR4zC9kM6 # Vault Certificates Configuration VAULT_CERT_DB_COMMON_NAME=${POSTGRES_USER} VAULT_CERT_DB_ALT_NAME=${POSTGRES_HOST} VAULT_CERT_DB_TTL=24h VAULT_CERT_DB_CH_COMMON_NAME=clickhouse VAULT_CERT_DB_CH_ALT_NAME=${CLICKHOUSE_HOST} VAULT_CERTIFICATION_DB_CH_TTL=24h VAULT_CERT_SERVICE_COMMON_NAME=file-acceptor.bitdive VAULT_CERT_SERVICE_COMMON_NAME_FILE_ACCEPTOR=file-acceptor.${SERVER_NAME} VAULT_CERT_SERVICE_ALT_NAMES_FILE_ACCEPTOR=file-acceptor.${SERVER_NAME} VAULT_CERT_SERVICE_ALT_NAMES=${SERVER_IP} VAULT_CERT_SERVICE_TTL=24h KEYCLOAK_FRONTEND_URL_NOT_SSL=https://${SERVER_IP}:8999 KEYCLOAK_FRONTEND_URL=https://${SERVER_NAME}:8999 VAULT_CERT_KEYCLOAK_COMMON_NAME=${SERVER_IP} VAULT_CERT_KEYCLOAK_ALT_NAME=${SERVER_IP} VAULT_CERT_KEYCLOAK_TTL=24h KEYCLOAK_CONTAINER=https://keycloak:${KEYCLOAK_HTTP_SSL_PORT}/keyCloak # Keycloak Realm URL KEYCLOAK_REALM_URL=${KEYCLOAK_CONTAINER}/realms/bitdive/protocol/openid-connect/certs KEYCLOAK_REALM_URL_NOT_SSL=http://keycloak:8080/realms/bitdive/protocol/openid-connect/certs # Frontend Configuration REACT_APP_API_URL=https://${SERVER_NAME}/monitoring-api REACT_APP_KEYCLOAK_URL=https://${SERVER_NAME}/keyCloak/ REACT_APP_KEYCLOAK_REALM=bitdive REACT_APP_KEYCLOAK_CLIENT_ID=react-client GENERATE_SOURCEMAP=false REACT_APP_BASE_URL=https://${SERVER_NAME}/ APP_EMAIL_SMTP_HOST=smtp.zoho.eu APP_EMAIL_SMTP_PORT=587 APP_EMAIL_SMTP_ALERT_USER= APP_EMAIL_SMTP_ALERT_PASSWORD= APP_EMAIL_SMTP_ALERT_EMAIL= APP_EMAIL_SMTP_INFORMATION_USER= APP_EMAIL_SMTP_INFORMATION_PASSWORD= APP_EMAIL_SMTP_INFORMATION_EMAIL= TOTAL_PROCESS_MEMORY=4g GIT_METHODS_ANALYSIS_DELAY_MS=60000 GIT_METHODS_ANALYSIS_LLM_PATCH=/generate GIT_METHODS_ANALYSIS_LLM_TEMPERATURE=0.0 GIT_METHODS_ANALYSIS_LLM_MAX_TOKENS=900 LLM_URL=http://bitdive-llm-api:8001
Usage
Step 0: Need to be replaced with your values
bashSERVER_IP=127.0.0.1 SERVER_NAME=localhost POSTGRES_PASSWORD=your_postgres_password MINIO_ROOT_USER=your_minio_user MINIO_ROOT_PASSWORD=your_minio_password CLICKHOUSE_USER=user_ch CLICKHOUSE_PASSWORD=your_ch_password KEYCLOAK_ADMIN=your_keycloak_user KEYCLOAK_ADMIN_PASSWORD=your_keycloak_password KEYCLOAK_KEY_STORE_PASSWORD=your-keycloak-keystore-password KEYCLOAK_TRUST_STORE_PASSWORD=your-keycloak-truststore-password JAVA_KEYSTORE_PASSWORD=your-keystore-password JAVA_TRUSTSTORE_PASSWORD=your-truststore-password VAULT_LOGIN=your_vault_login VAULT_PASSWORD=your_vault_password TOKEN_SECRET=2IC9hzeMOIPBCyv3Ew5BDCcRPBI8nwuSFQ/jXlQZ+1A=
Step 1: Start Vault
Run the following command to start the Vault service:
bashdocker-compose up -d vault
Wait until Vault is fully initialized.
Step 2: Initialize Database SSL
Run the following command to set up SSL for the PostgreSQL service:
bashdocker-compose up -d init-db-ssl
Wait until the process completes.
Step 3: Start All Services
Finally, start all remaining services with:
bashdocker-compose up -d init-container-ssl
Accessing the Services
- PostgreSQL: Accessible on port
5432. - Keycloak: https://localhost/keyCloak
- Frontend: https://localhost
- flink-load: https://localhost/flink-load
Configuring Keycloak
https://bitdive.io/docs/keycloak-configuration/
Notes
- Logs and data are persisted in the
./vaultand./postgresqldirectories. - Make sure to replace placeholder values in the
.envfile with actual secrets before starting the services. - If you encounter any issues, verify that all required ports are free and that Docker Compose is up-to-date.
Troubleshooting
- Vault does not start: Ensure that the configuration file exists in the
./configVaultdirectory and is correctly configured. - PostgreSQL SSL issues: Verify that the certificates in
./vault/ssl/postgres-serverare correctly configured and have proper permissions. - MinIO access issues: Ensure that the
MINIO_ROOT_USERandMINIO_ROOT_PASSWORDin.envmatch the configured values.
Restarting Services After Configuration Changes
If you've made changes to the configuration files (nginx, docker-compose.yml, or .env), you need to restart the affected services:
For MinIO configuration changes:
bash# Stop and remove containers docker-compose down # Rebuild and start services docker-compose up -d minio nginx # Or restart all services docker-compose up -d
For nginx configuration changes only:
bash# Restart just nginx docker-compose restart nginx
After restarting, MinIO console will be available at: https://localhost/minio
Contributors
Showing top 3 contributors by commit count.


Related Repositories

bitDive/java-producer
Low-overhead Java agent for the Autonomous Verification Layer. Captures real runtime traces, SQL queries, and HTTP payloads in Spring Boot apps to enable trace-based testing.
bitDive/mcp-server
BitDive Model Context Protocol (MCP) server. The Autonomous Quality Loop for AI agents. Provides real runtime context, before/after trace comparison, and integration testing workflows.
bitDive/bitdive-test
Mock-free JUnit integration testing for Java & Spring Boot. Close the verification gap by turning captured runtime traces into deterministic tests. Zero mock scripts.