Shorty
:link: A URL shortening service built using Flask and MySQL
> A self-hosted URL shortening service built using Flask & Mysql. The project is written primarily in Python, distributed under the MIT License license, first published in 2017. Key topics include: analytics, aws, database, ec2-instance, flask.
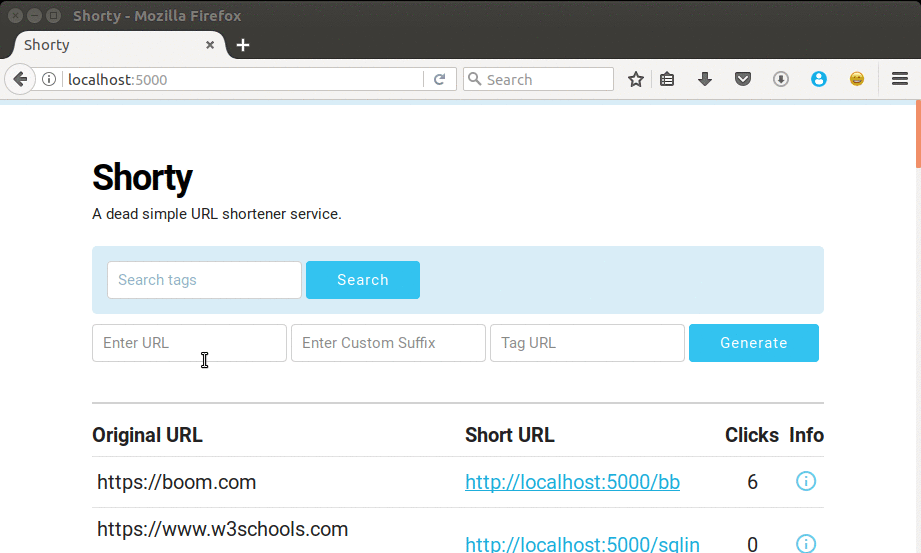
:link: Shorty
A self-hosted URL shortening service built using Flask & Mysql.
:tada: Surprise : Click Analytics
Tracking for Operating system and platform used to access the link is available.

Getting Started
Clone or download this repository.
git clone https://github.com/PadamSethia/shorty.git

cd shorty/

python ./app.py
Prerequisites
This project requires Flask and MySQL .
And MySQLdb python module for connection.
You can install it using the following commands .
pip install flask
For mysql as backend
sudo apt install mysql-server

sudo apt-get install libmysqlclient-dev

pip install MySQL-python
Now run the following command to create the MySQL table
python ./create_table.py
Configure the MySQL database credentials in config.py
Set the host , user , password and database name for MySQL connection.
Also under MySQL shell set
set autocommit = 0
This takes care of the concurrency issue.
RESTful API
POST /api/v1/shorten with form data url=https://github.com/PadamSethia , custom=blah & tag=test custom and tag are optional.
json{ "custom": "blah", "long_url": "https://github.com/PadamSethia", "short_url": "http://localhost:5454/blah", "tag": "test" }
GET /api/v1/expand/ with form data custom=blah
json{ "click_browser": { "CHROME": 0, "FIREFOX": 0, "OTHER_BROWSER": 0, "SAFARI": 0 }, "click_platform": { "ANDROID": 0, "IOS": 0, "LINUX": 0, "MAC": 0, "OTHER_PLATFORM": 0, "WINDOWS": 0 }, "clicks": 0, "custom": "blah", "long_url": "http://github.com/PadamSethia", "tag" : "test" }
for now the web app and api run on different ports.
app : 5000 , api : 8000
Running for production
This section outlines how to setup and run shorty on web servers.
In this case I'll consider AWS EC2 instance.
- Set up the EC2 instance.
...Learn more
- Clone this git repository.
Change the Host in app.run() to 0.0.0.0 , for both shorty_api.py and app.py
Now if you run python ./app.py , shorty should run under the server IP as <server host>:<port>
By default the port is 5000 , make sure to open the port before running the app.
Creating Script for running the app
The inbuilt flask server is not built for production , it might do down after a couple of days .
So we need to use production ready web servers , for this we'll use uWSGI and Nginx.
First install uwsgi and nginx on EC2 instance
pip install uwsgi
If it doesn't work install from distro repo
For Ubuntu
sudo apt-get install uwsgi-core uwsgi-plugin-python & nginx
For CentOS / Amazon Linux
sudo yum install uwsgi & nginx
Using uWSGI to run app.py and shorty_api.py
The uwsgi file is already setup in this repo , just change the <user> to your user name .
For eg ,
wsgi-file = /home/<user>/shorty/app.py
Just change the <user> to your sepecified user name , for me it would be
wsgi-file = /home/padam/shorty/app.py
So update the uwsgi_app and uwsgi_api files.
Now to run the script , run
uwsgi --ini uwsgi_app &
The & is used to run app.py in background.
For the API run
uwsgi --ini uwsgi_api &
Both the processes will run in background .
Projects Used
License
This project is licensed under the MIT Licene.
Contributors
Showing top 2 contributors by commit count.

![dependabot[bot]](https://avatars.githubusercontent.com/in/29110?v=4)
Related Repositories

grafana/grafana
The open and composable observability and data visualization platform. Visualize metrics, logs, and traces from multiple sources like Prometheus, Loki, Elasticsearch, InfluxDB, Postgres and many more.

apache/superset
Apache Superset is a Data Visualization and Data Exploration Platform

ClickHouse/ClickHouse
ClickHouse® is a real-time analytics database management system

metabase/metabase
The easy-to-use open source Business Intelligence and Embedded Analytics tool that lets everyone work with data :bar_chart:

mindsdb/minds
General-purpose AI designed for knowledge workers — creators, strategists, and operators — and individuals seeking AI systems they can truly control to help them get work done, with full flexibility to extend and deploy anywhere (VPC, on-prem, or cloud).

duckdb/duckdb
DuckDB is an analytical in-process SQL database management system