Rackstack
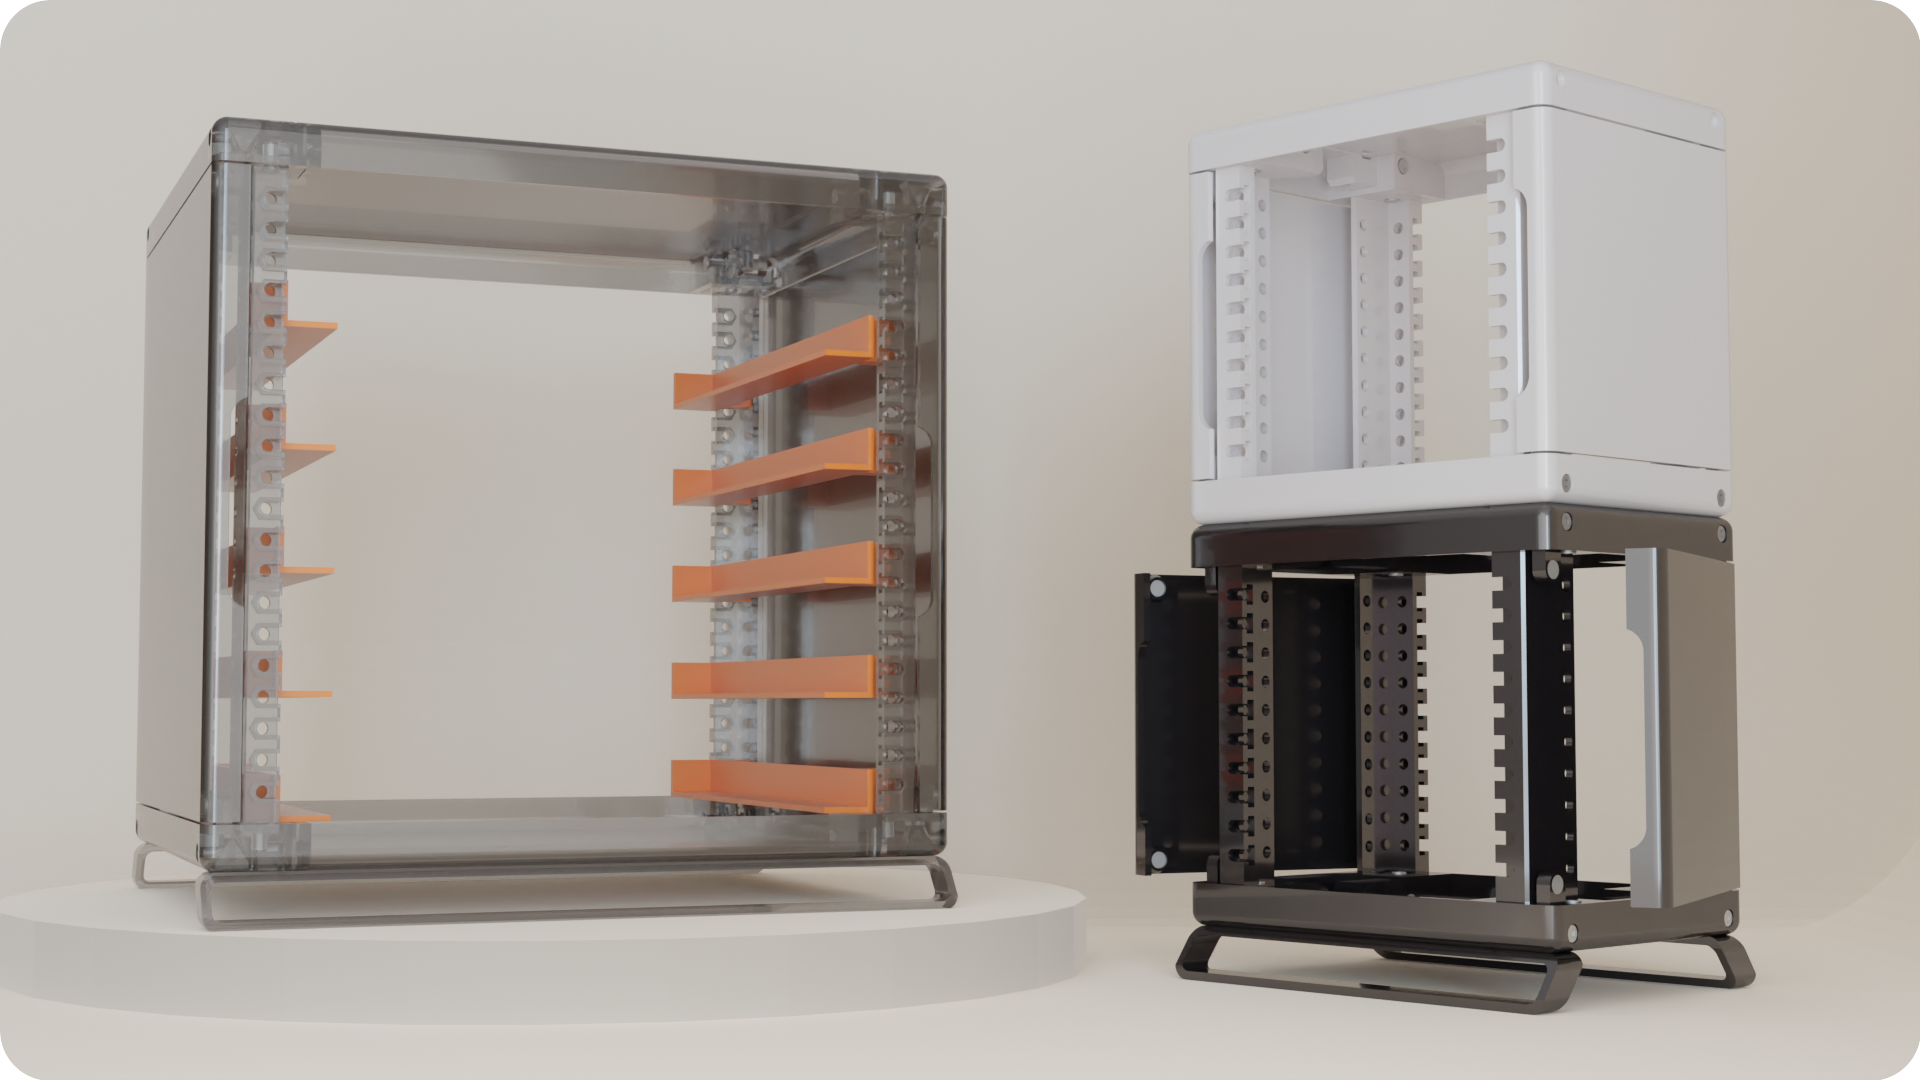
A modular 3d-printable mini rack system.
- ***Mount Anything:*** Perfect for organizing SBCs, mini PCs, small switches, power hubs, etc. - ***Fully customizable:*** Fully written in OpenSCAD. Everything, from the dimensions of the rack, to the roundness of the corners, can be modified with a simple code change. - ***Printable from home:*** Designed to be printed with conventional FDM printers. Requires minimal supports when printing, and final assembly needs only a few easy-to-source parts. - ***No cage nuts:*** Sliding hex nut design ... The project is written primarily in OpenSCAD, distributed under the MIT License license, first published in 2022. It has gained significant community traction with 1,458 stars and 82 forks on GitHub. Key topics include: 3d-printing, homelab, openscad.
rackstack
A modular 3d-printable mini rack system
- Mount Anything: Perfect for organizing SBCs, mini PCs, small switches, power hubs, etc.
- Fully customizable: Fully written in OpenSCAD. Everything, from the dimensions of the rack, to the roundness of the corners, can be modified with a simple code change.
- Printable from home: Designed to be printed with conventional FDM printers. Requires minimal supports when printing, and final assembly needs only a few easy-to-source parts.
- No cage nuts: Sliding hex nut design for the front rails allows one to easily mount items, without dealing with cage nuts.
- Stackable: Individual racks can be easily stacked and fastened together. Mix and match different color and design combinations!
Assembly
Pre-generated STLs for roughly 200mm^3 (mini), 180mm^3 (micro), and 100mm^3 (nano) rack frames can be found in the stl dir.
These STLs are generated from the files in rack/print - further information about printing these parts
(supports, orientation) can be found in these files.
Assembly Instructions
Please see the assembly guide.
BOM - Required Tools:
- 3d FDM Printer - build size requirements depend on configured rack profile
- M3 Allen Key (for constructing the rack)
- M4 Allen Key (for mounting rack-mount items)
BOM - Single Rack:
| Item | Name | Quantity | Comment |
|---|---|---|---|
| <img src="media/bom/fhcs_medium.gif" height="60" width="72"> | M3x12 FHCS | 12 | Extras are useful and inexpensive. If you plan on eventually stacking multiple racks together, don't hesitate to get a lot more. |
| <img src="media/bom/fhcs_long.gif" height="60" width="72"> | M3x16 FHCS | 16 | ☝️ |
| <img src="media/bom/hex_nut.gif" height="60" width="72"> | M3 hex nut | 28 | ☝️ |
| <img src="media/bom/dowel.gif" height="60" width="72"> | 3x10 steel dowel pin | 4 | 3mm diameter, 10mm height |
| <img src="media/bom/magnet.gif" height="60" width="72"> | 6x2 neodymium disc magnet | 8 | 6mm diameter, 2mm height |
| <img src="media/bom/glue.gif" height="60" width="72"> | super glue | >= 2ml | Used to glue magnets to plastic |
Printing - Single Rack:
| Part | Quantity |
|---|---|
| Left Y-Bar | 2 |
| Right Y-Bar | 2 |
| X-Bar | 4 |
| Main Rail | 4 |
| Left Side Wall | 1 |
| Right Side Wall | 1 |
| XY-Plate | 2 |
| Feet (optional) | 2 |
Notes:
- ⚠️ Before printing the actual parts. It's recommended to print this evaluation part: eval_P.scad to test tolerances.
If you find the fits too tight/loose, you can adjust them here. Please make sure also adjust the layer height in that file, too. - Omitted actual plastic for printing. Any conventional 3d printing plastic should do (PLA, PETG, ABS),
but beware of PLA's thermal limits. Higher infill is recommended for all parts. - For joining two racks, you will need to print 4 rackJoiners, as well as 8 M3 hex nuts, and 8 M3x12 FHCS.
- Main front rails use M4 hex nuts and screws.
- Side rails are mounted using M3 hex nuts and screws.
Configuring + Generating STLs
A python script: rbuild.py is provided to generate different project stls. Before running the script, please
configure the path to the OpenSCAD binary in rbuild.py.
Requirements:
openscadCLI binarypython3
Examples:
Generate all project files for the micro profile:
python3 rbuild.py -b all -c micro
This will build all the parts defined in rack/print, and put the STLs in stl/micro.
You can also provide a -dz {n} parameter to adjust the height of the generated rack. Configuring other rack
variables can be done in config/rackframe.scad.
For generating a specific part, and putting it into a new stl/custom target directory:
python3 rbuild.py -b yBar -c micro -t custom
rbuild.py also support an optional --nightly flag, which will run a nightly build of OpenSCAD. Please make sure the
path to the nightly build is also configured in rbuild.py.
⚠️ Important:
Before committing to a full print, please try printing an evaluation print: eval_P.scad to test tolerances.
It is very likely you will need to edit the default tolerances in print.scad for a nice fit.
Trays, Boxes, etc
Some parametric rack mount systems can be found in rack-mount. The following rack-mount systems
are currently supported:
- Enclosed Box: For mounting box-shaped objects, without the need for any mounting holes on the box.
- Tray: Simple tray mounted using only the front rails. Can be configured to have screw mounts at the bottom of the tray.
- Patch Panel: Linear patch panel array. Number of keystone slots can be configured.
- Angle Brackets: Simple Angle Bracket mounting system. Derived from the Enclosed Box system.
Rack Mount Catalog
There is a small catalog of various pre-configured rack-mountable parts in the catalog directory. Please feel free to add anything even remotely
useful!
Designing rack-mount items
Some useful variables for designing your own rack-mount items can be found in rack-mount/dimensionHelper.scad.
Contributors
Showing top 9 contributors by commit count.


