Tubesync
Syncs YouTube channels and playlists to a locally hosted media server
TubeSync is a PVR (personal video recorder) for YouTube. Or, like Sonarr but for YouTube (with a built-in download client). It is designed to synchronize channels and playlists from YouTube to local directories and update your media server once media is downloaded. The project is written primarily in Python, distributed under the GNU Affero General Public License v3.0 license, first published in 2020. It has gained significant community traction with 2,732 stars and 163 forks on GitHub. Key topics include: media-server, plex, pvr, tubesync, youtube.
TubeSync
TubeSync is a PVR (personal video recorder) for YouTube. Or, like Sonarr but for
YouTube (with a built-in download client). It is designed to synchronize channels and
playlists from YouTube to local directories and update your media server once media is
downloaded.
If you want to watch YouTube videos in particular quality or settings from your local
media server, then TubeSync is for you. Internally, TubeSync is a web interface wrapper
on yt-dlp and ffmpeg with a task scheduler.
There are several other web interfaces to YouTube and yt-dlp all with varying
features and implementations. TubeSync's largest difference is full PVR experience of
updating media servers and better selection of media formats. Additionally, to be as
hands-free as possible, TubeSync has gradual retrying of failures with back-off timers
so media which fails to download will be retried for an extended period making it,
hopefully, quite reliable.
Latest container image
yamlghcr.io/meeb/tubesync:latest
Screenshots
<details> <summary>Click to expand screenshots</summary>Dashboard
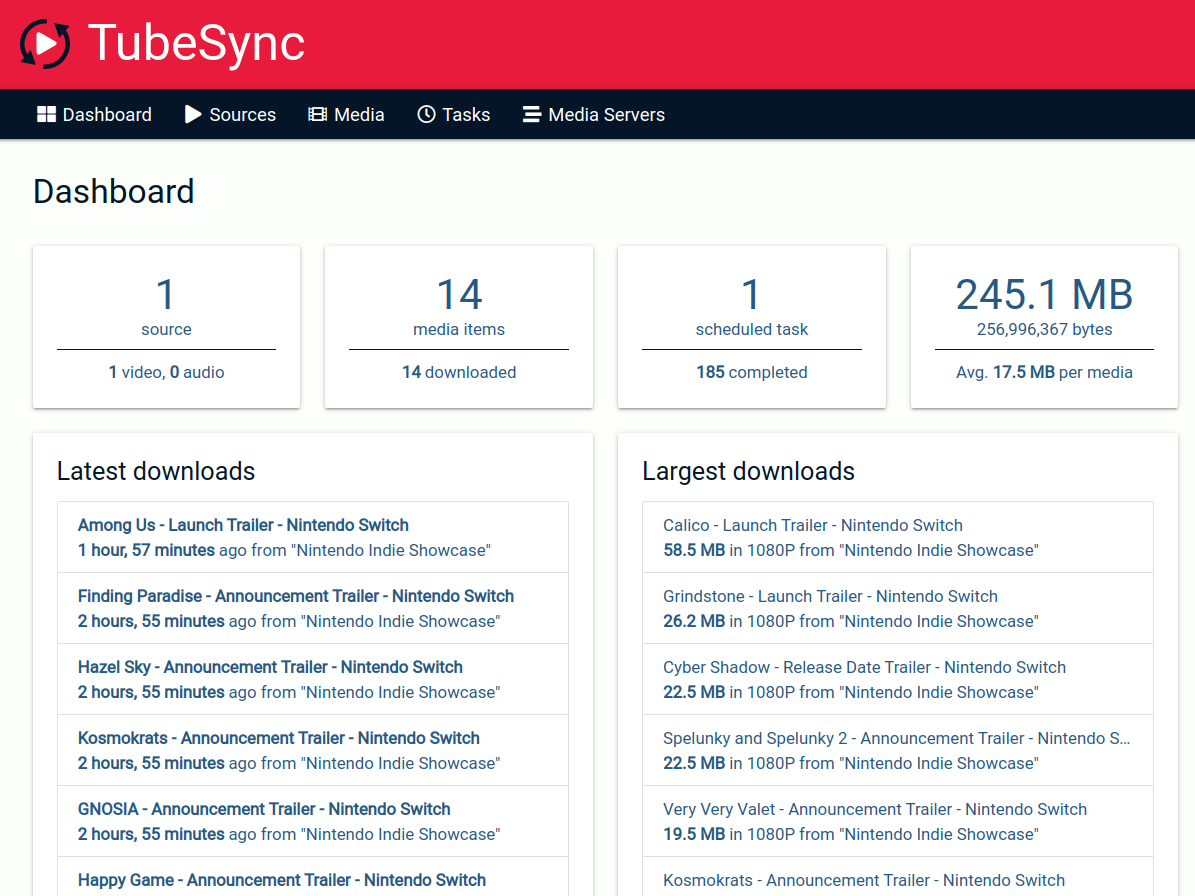
Sources overview
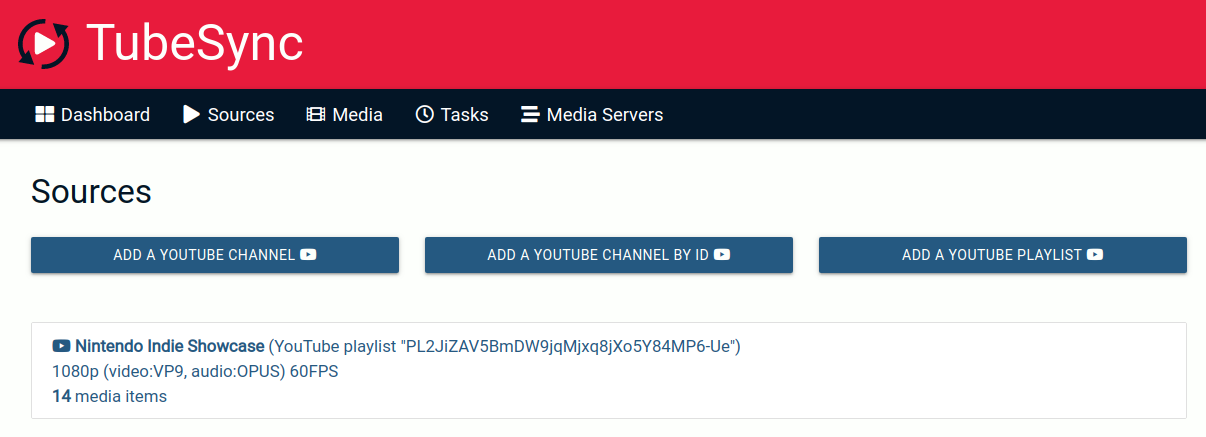
Source details
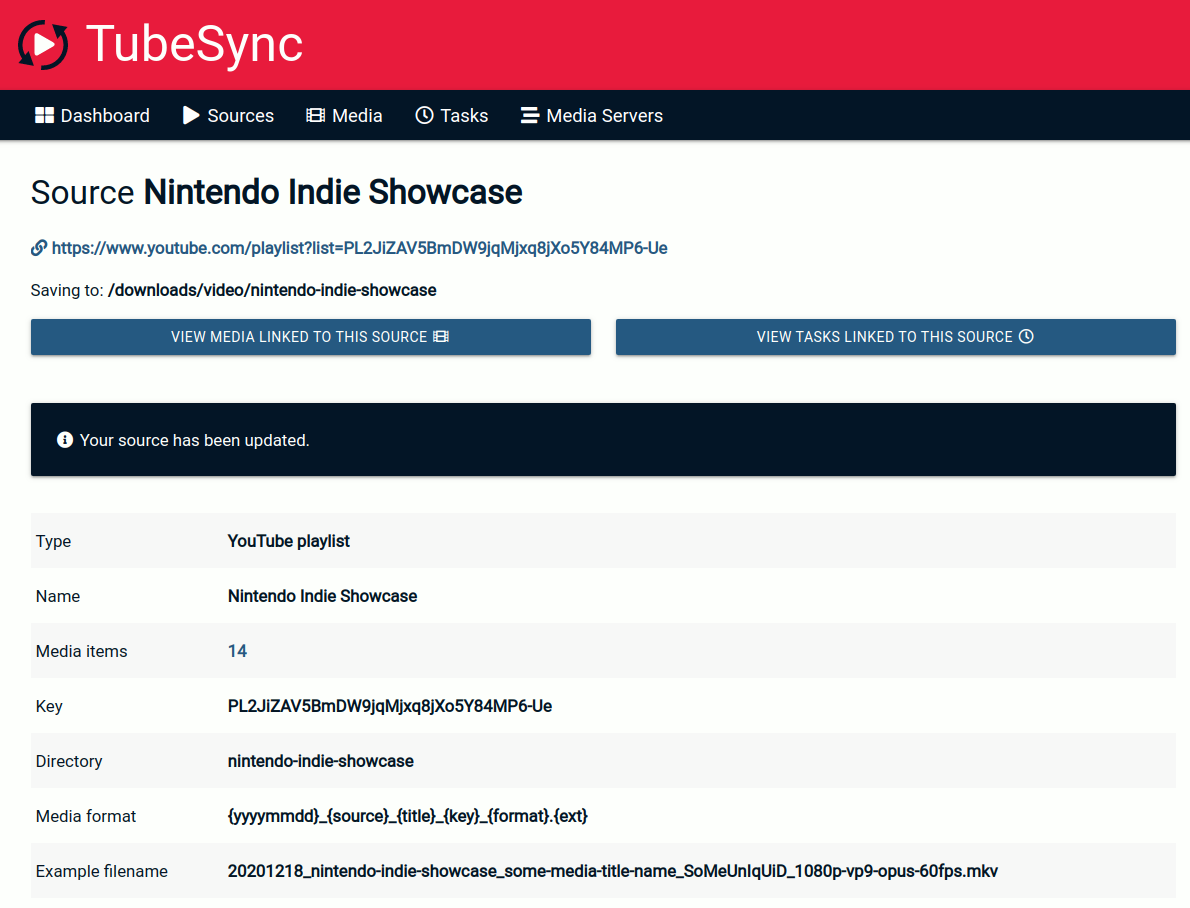
Media overview
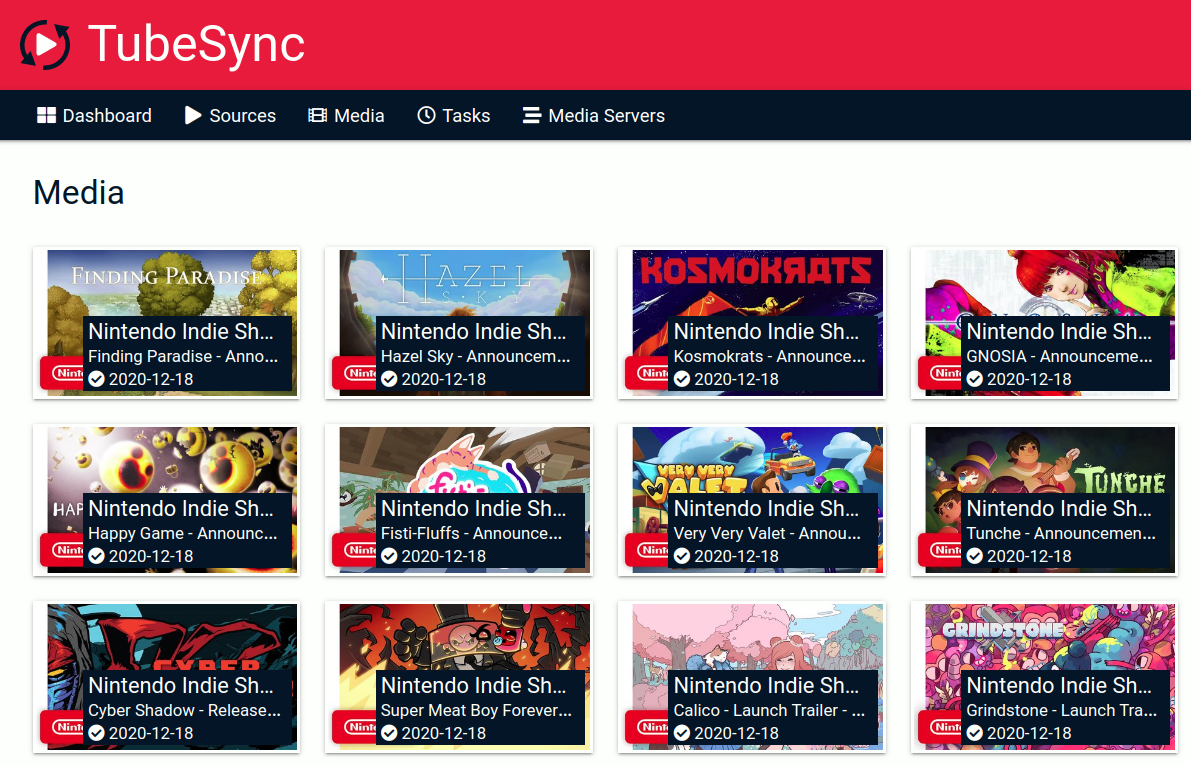
Media details
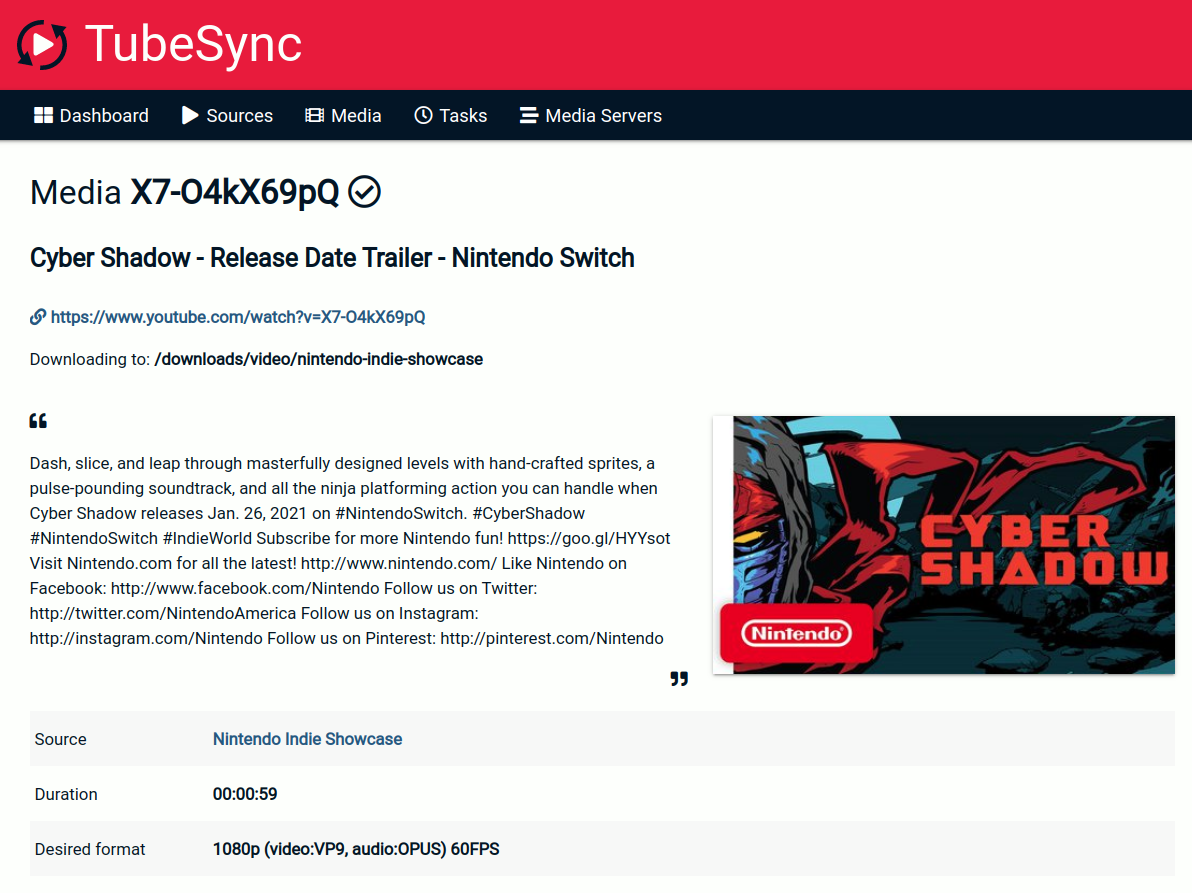
Requirements
For the easiest installation, you will need an environment to run containers such as
Docker or Podman. You will also need as much space as you want to allocate to
downloaded media and thumbnails. If you download a lot of media at high resolutions
this can be very large.
What to expect
Once running, TubeSync will download media to a specified directory. Inside this
directory will be a video and audio subdirectories. All media which only has an
audio stream (such as music) will download to the audio directory. All media with a
video stream will be downloaded to the video directory. All administration of
TubeSync is performed via a web interface. You can optionally add a media server,
currently only Jellyfin or Plex, to complete the PVR experience.
Installation
TubeSync is designed to be run in a container, such as via Docker or Podman. It also
works in a Docker Compose stack. amd64 (most desktop PCs and servers) and arm64
(modern ARM computers, such as the Raspberry Pi 3 or later) are supported.
Example (with Docker on *nix):
First find the user ID and group ID you want to run TubeSync as, if you're not
sure what this is it's probably your current user ID and group ID:
bash$ id # Example output, in this example, user ID = 1000, group ID = 1000 # id uid=1000(username) gid=1000(username) groups=1000(username),129(docker)
You can find your local timezone name here:
https://en.wikipedia.org/wiki/List_of_tz_database_time_zones
If unset, TZ defaults to UTC.
Next, create the directories you're going to use for config data and downloads:
bash$ mkdir /some/directory/tubesync-config $ mkdir /some/directory/tubesync-downloads
Finally, download and run the container:
bash# Pull image $ docker pull ghcr.io/meeb/tubesync:latest # Start the container using your user ID and group ID $ docker run \ -d \ --name tubesync \ -e PUID=1000 \ -e PGID=1000 \ -e TZ=Europe/London \ -v /some/directory/tubesync-config:/config \ -v /some/directory/tubesync-downloads:/downloads \ -p 4848:4848 \ --stop-timeout 1800 \ ghcr.io/meeb/tubesync:latest
Once running, open http://localhost:4848 in your browser and you should see the
TubeSync dashboard. If you do, you can proceed to adding some sources (YouTube channels
and playlists). If not, check docker logs tubesync to see what errors might be
occurring, typical ones are file permission issues.
Alternatively, for Docker Compose, you can use something like:
ymlservices: tubesync: image: ghcr.io/meeb/tubesync:latest container_name: tubesync restart: unless-stopped stop_grace_period: 30m ports: - 4848:4848 volumes: - /some/directory/tubesync-config:/config - /some/directory/tubesync-downloads:/downloads environment: - TZ=Europe/London - PUID=1000 - PGID=1000
[!IMPORTANT]
If the/downloadsdirectory is mounted from a Samba volume, be sure to also supply theuidandgidmount parameters in the driver options.
These must be matched to thePUIDandPGIDvalues, which were specified as environment variables.Matching these user and group ID numbers prevents issues when executing file actions, such as writing metadata. See this issue for details.
Optional authentication
You can enable basic HTTP authentication by setting the HTTP_USER and HTTP_PASS
environment variables. See the environment variables reference
for details.
Updating
To update, you can just pull a new version of the container image as they are released.
bash$ docker pull ghcr.io/meeb/tubesync:v[number]
Back-end updates such as database migrations should be automatic.
[!IMPORTANT]
MariaDBwas not automatically upgraded forUUIDcolumn types.
To see what changes are needed, you can run:bashdocker exec -it tubesync python3 /app/manage.py fix-mariadb --dry-run --uuid-columnsRemoving the
--dry-runwill attempt to execute those statements using the configured database connection.
Moving, backing up, etc.
TubeSync, when running in its default container, stores thumbnails, cache and its
SQLite database into the /config directory and wherever you've mapped that to on your
file system. Just copying or moving this directory and making sure the permissions are
correct is sufficient to move, back up or migrate your TubeSync install.
Using TubeSync
1. Add some sources
Pick your favourite YouTube channels or playlists, pop over to the "sources" tab, click
whichever add button suits you, enter the URL and validate it. This process extracts
the key information from the URL and makes sure it's a valid URL. This is the channel
name for YouTube channels and the playlist ID for YouTube playlists.
You will then be presented with the initial add a source form where you can select
all the features you want, such as how often you want to index your source and the
quality of the media you want to download. Once happy, click "add source".
2. Wait
That's about it. All other actions are automatic and performed on timers by scheduled
tasks. You can see what your TubeSync instance is doing on the "tasks" tab.
As media is indexed and downloaded it will appear in the "media" tab.
3. Media Server updating
Currently TubeSync supports Plex and Jellyfin as media servers. You can add your local Jellyfin or Plex server
under the "media servers" tab.
Logging and debugging
TubeSync outputs useful logs, errors and debugging information to the console. Access to the historical and live logs is available from a web browser at: http://HOSTNAME_OR_IP:4848/web-logs/index.html
[!TIP]
Even more detailed logs are displayed on the console when the environment variableTUBESYNC_DEBUGis set toTrue.Whichever value this environment variable was set to, the more detailed logs will remain available from the
/web-logs/index.htmlpage.
You can view the console logs with:
bash$ docker logs --follow tubesync
To include logs with an issue report, please extract a file and attach it to the issue.
The command below creates the TubeSync.logs.txt file with the logs from the console of the tubesync container instance:
bashdocker logs -t tubesync > TubeSync.logs.txt 2>&1
It is also possible to copy the logs database (stored at /config/state/hat/syslog.db inside the container) or the web logs from a container instance (stored at /run/app/log/messages inside the container) using the docker container cp command.
[!TIP]
Log files are highly compressible. You can place any combination of these file into a.ziparchive to save space and make them easier to attach to an issue.
Advanced usage guides
Once you're happy using TubeSync there are some advanced usage guides for more complex
and less common features:
- Using Plex
- Import existing media into TubeSync
- Sync or create missing metadata files
- Reset tasks from the command line
- Using PostgreSQL, MySQL or MariaDB as database backends
- YouTube Proof-of-Origin Tokens
- Using cookies
- Reset metadata
Warnings
1. Index frequency
It's a good idea to add sources with as long of an index frequency as possible. This is
the duration between indexes of the source. An index is when TubeSync checks to see
what videos available on a channel or playlist to find new media. Try and keep this as
long as possible, up to 24 hours.
2. Indexing massive channels
If you add a massive channel (one with several thousand videos) to TubeSync and choose "index
every hour" or a similarly short interval; it's entirely possible that your TubeSync install may
spend its entire time indexing the channel, over and over again, without
downloading any media. Check your tasks for the status of your TubeSync install.
Be nice. It's entirely possible that your IP address could get throttled and/or banned, by the
source, if you try to crawl extremely large amounts quickly. Try to be polite
with the smallest amount of indexing and concurrent downloads possible for your needs.
FAQ
Moved to the wiki.
Advanced configuration
There are a number of other environment variables you can set. These are, mostly,
NOT required to be set in the default container installation, they are really only
useful if you are manually installing TubeSync in some other environment. These are:
| Name | What | Example |
|---|---|---|
| DJANGO_SECRET_KEY | Django's SECRET_KEY | YJySXnQLB7UVZw2dXKDWxI5lEZaImK6l |
| DJANGO_URL_PREFIX | Run TubeSync in a sub-URL on the web server | /somepath/ |
| TUBESYNC_DEBUG | Enable debugging | True |
| TUBESYNC_HOSTS | Django's ALLOWED_HOSTS, defaults to * | tubesync.example.com,otherhost.com |
| TUBESYNC_RESET_DOWNLOAD_DIR | Toggle resetting /downloads permissions, defaults to True | True |
| TUBESYNC_VIDEO_HEIGHT_CUTOFF | Smallest video height in pixels permitted to download | 240 |
| TUBESYNC_RENAME_SOURCES | Rename media files from selected sources | Source1_directory,Source2_directory |
| TUBESYNC_RENAME_ALL_SOURCES | Rename media files from all sources | True |
| TUBESYNC_DIRECTORY_PREFIX | Enable video and audio directory prefixes in /downloads | True |
| TUBESYNC_SHRINK_NEW | Filter unneeded information from newly retrieved metadata | True |
| TUBESYNC_SHRINK_OLD | Filter unneeded information from metadata loaded from the database | True |
| GUNICORN_WORKERS | Number of gunicorn (web request) workers to spawn | 3 |
| LISTEN_HOST | IP address for gunicorn to listen on | 127.0.0.1 |
| LISTEN_PORT | Port number for gunicorn to listen on | 8080 |
| HTTP_USER | Sets the username for HTTP basic authentication | some-username |
| HTTP_PASS | Sets the password for HTTP basic authentication | some-secure-password |
| DATABASE_CONNECTION | Optional external database connection details | postgresql://user:pass@host:port/database |
Manual, non-containerised, installation
As a relatively normal Django app you can run TubeSync without the container. Beyond
following this rough guide, you are on your own and should be knowledgeable about
installing and running WSGI-based Python web applications before attempting this.
- Clone or download this repo
- Make sure you're running a modern version of Python (>=3.10) and have Pipenv
installed - Set up the environment with
pipenv install - Copy
tubesync/tubesync/local_settings.py.exampleto
tubesync/tubesync/local_settings.pyand edit it as appropriate - Run migrations with
./manage.py migrate - Collect static files with
./manage.py collectstatic - Set up your prefered WSGI server, such as
gunicornpointing it to the application
intubesync/tubesync/wsgi.py - Set up your proxy server such as
nginxand forward it to the WSGI server - Check the web interface is working
- Run
./manage.py process_tasksas the background task worker to index and download
media. This is a non-detaching process that will write logs to the console. For long
term running you could use a terminal multiplexer such astmux, or create
systemdunit to run it.
Tests
There is a moderately comprehensive test suite focusing on the custom media format
matching logic and that the front-end interface works. You can run it via Django:
bash$ ./manage.py test --verbosity=2
Contributing
All properly formatted and sensible pull requests, issues and comments are welcome.
Contributors
Showing top 12 contributors by commit count.


